

Lord Residence: November 2008
Click on the photos to see an enlargement.
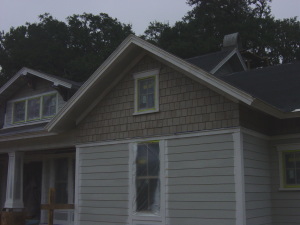
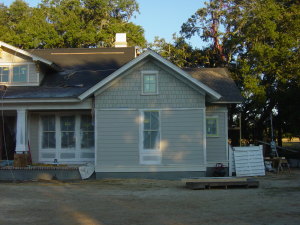
November 3, 2008 -- Here is one of the front gables with one coat of stain on the cedar shingles. It's very overcast today making the siding look a lot darker.
November 3, 2008 -- Here is the stain on the garage wall. They will have a more solid color after the final coat.
November 3, 2008 -- Another wall is finished on the back porch. Just a few more walls on the porch and the house siding will be done.
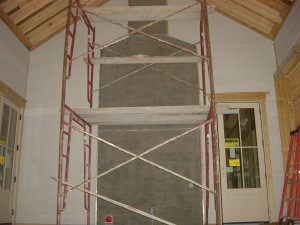
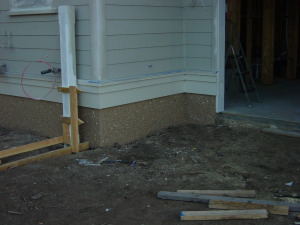
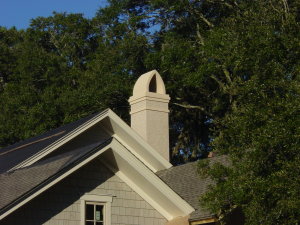
November 3, 2008 -- The scratch coat of stucco has been applied to the chimney on the porch and is ready for the tabby stucco.
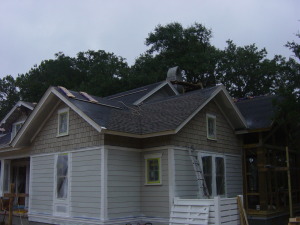
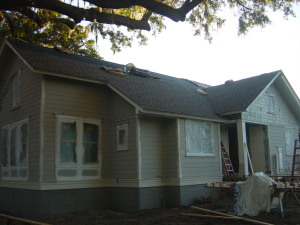
November 4, 2008 -- The roofer estimates they should be finished next week if they get good weather.
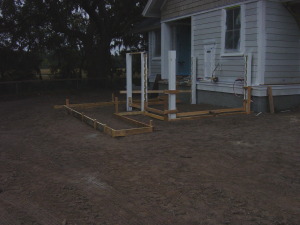
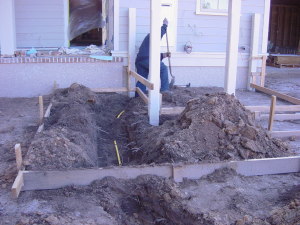
November 4, 2008 -- The owner's entry walk and the service yard are formed and ready for concrete. Once the gas pipe is buried the concrete will be poured.
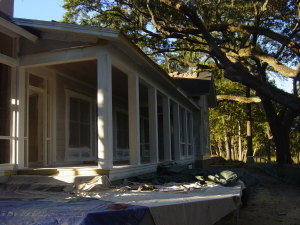
November 4, 2008 -- The public screen porch walls are now complete. The ceiling will be installed in the next few days.
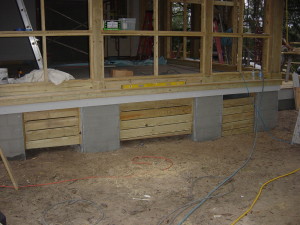
November 4, 2008 -- The fencing is being installed in the foundation walls. The section on the end will be hinged for access to the firewood rack.
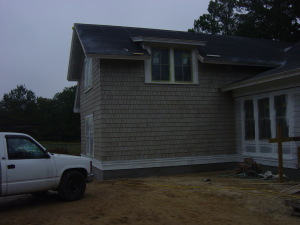
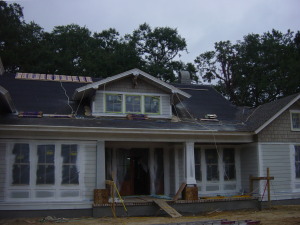
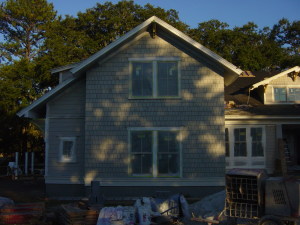
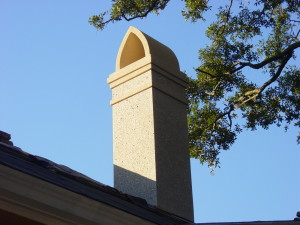
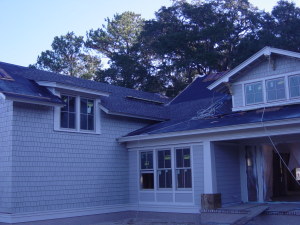
November 6, 2008 -- More shingles are on, the chimney is taking shape and the final coat is on the cedar siding.
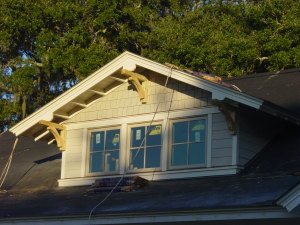
November 6, 2008 -- All of the painting is done on this dormer with the exception of the gable brackets. They will be stained to match the mahogany front door.
November 6, 2008 -- The final coat is on the cedar siding. The lap siding is painted its color but gets one more coat.
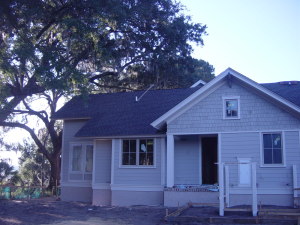
November 6, 2008 -- The final coat is on all of the cedar siding now. The trim on this wall needs painting and it will be finished.
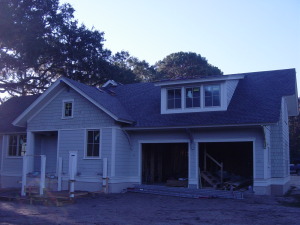
November 6, 2008 -- More shingles are installed over the laundry and garage. The dormer is completely painted.
November 6, 2008 -- Some of the curtain wall tabby stucco went on today. This is fresh so it is a little darker than it will be when it is dry in a few days.
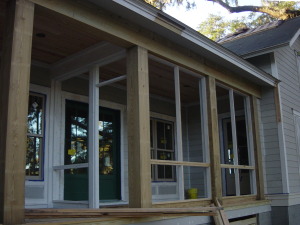
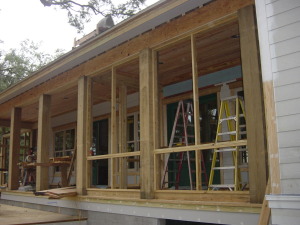
November 6, 2008 -- All of the screen framing is finished for the owner's private screened porch. Once it is painted the screening will be installed.

November 6, 2008 -- Here is a picture of the public screened porch vaulted ceiling with the cypress boards installed. This photo is looking nearly straight up.
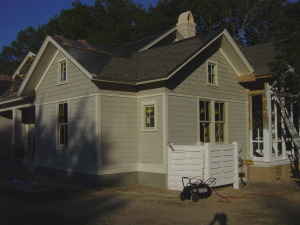
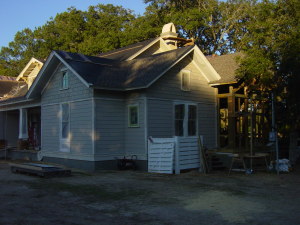
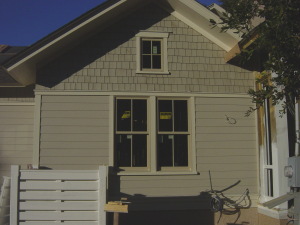
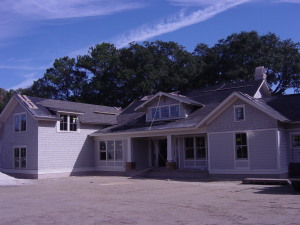
November 7, 2008 -- The final paint is on this section of the house and most of the masking has been removed. The colors look very good together.
November 7, 2008 -- This wall has the final paint on it as well. The copper flashings are still masked off but they will add a nice accent once uncovered.
November 7, 2008 -- The back porches are cleared off and masked up and are being painted. The back of the house will be finished up next week.
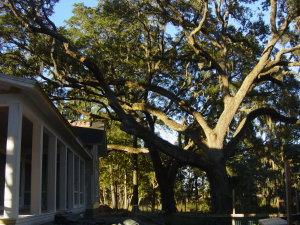
November 7, 2008 -- These are two of the four majestic live oaks that overhang and shade the rear of the house.

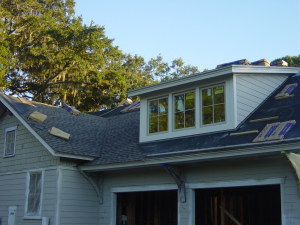
November 11, 2008 -- Shingles are still being installed. Also notice the stucco is finished around the bottom.
November 17, 2008 -- The roof is completely finished now and the insulation contractor has begun spraying the foam insulation.
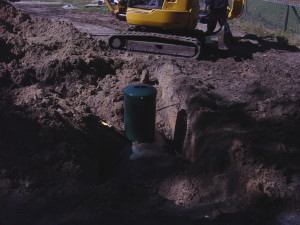
November 17, 2008 -- Here you can see the ditch where the gas lines are buried from the tank to the house.
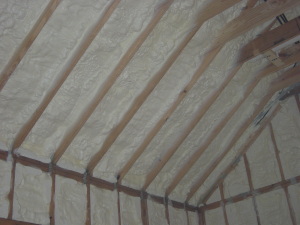
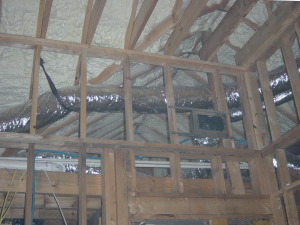
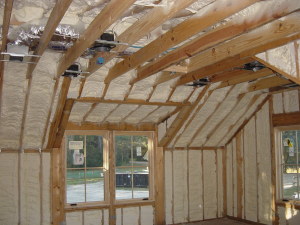
November 17, 2008 -- The foam insulation is sprayed into every framing cavity and fills in completely with no gaps.
November 17, 2008 -- The foam works great to seal around hard to reach areas such as around HVAC ducting.
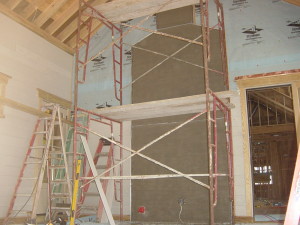
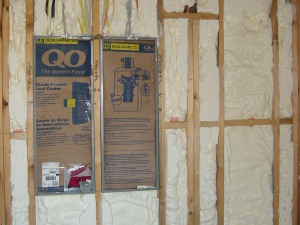
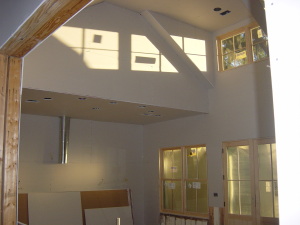
November 20, 2008 -- The insulation is complete now and today we passed our insulation inspection. The next step is drywall.
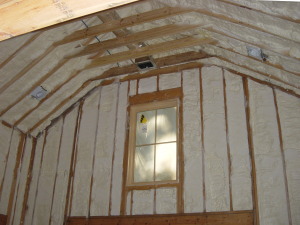
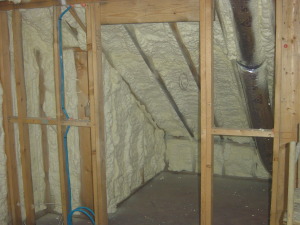
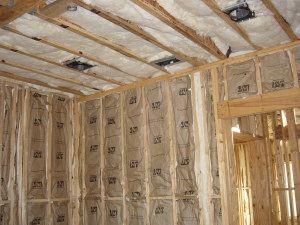
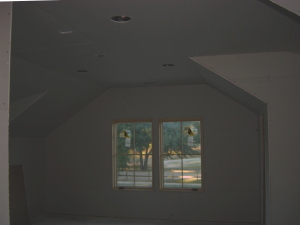
November 20, 2008 -- All of the exterior walls and the roof were insulated with Icynene open-cell spray-foam insulation. This is the master bedroom.
November 20, 2008 -- Even the garage ceiling and walls were insulated with Icynene. This will make the garage more comfortable year round.
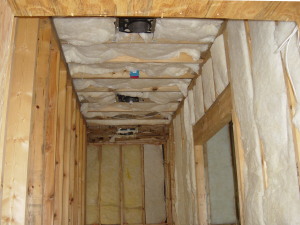
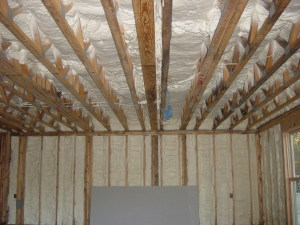
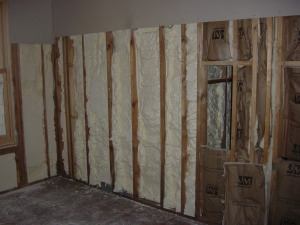
November 20, 2008 -- The walls and ceiling of all of the rooms were insulated to reduce sound transmission.
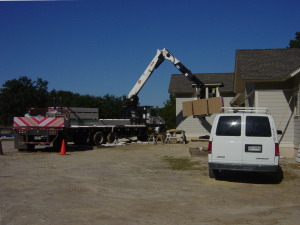
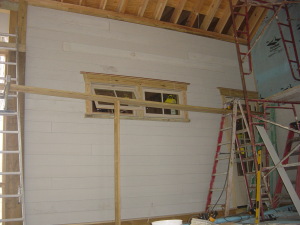
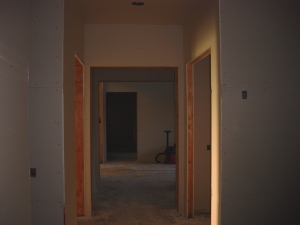
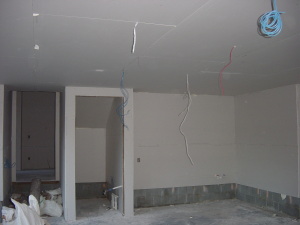
November 20, 2008 -- Drywall is being delivered to the house today. Drywall installation will start tomorrow or Monday.
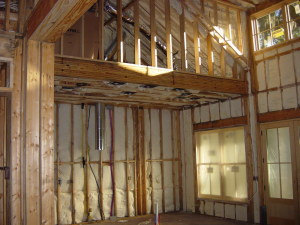
November 25, 2008 -- The spray foam insulation is finished between the house and the garage. We waited to spray this after the drywall was up on one side.
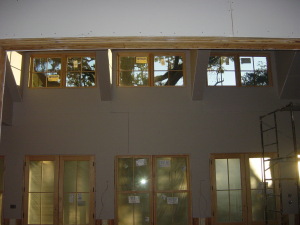
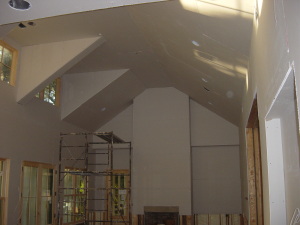
November 26, 2008 -- The drywall hanging is finished now. They started Monday and hung all 400 sheets by the next day.
- Click Here to return to the Past Projects Page
- [Home]
- [News]
- [Past Projects]
- [Campbell]
- [Causey]
- [Elloree]
- [Gitlitz Cottage]
- [Gitlitz Garage]
- [Griffin]
- [Groman]
- [Historic]
- [Hoats]
- [Keller]
- [Kumar]
- [Langford]
- [Lord]
- [May 08]
- [Jun 08]
- [Jul 08]
- [Aug 08]
- [Sep 08]
- [Oct 08]
- [Nov 08]
- [Dec 08]
- [Jan 09]
- [Feb 09]
- [Mar 09]
- [Apr 09]
- [May 09]
- [Jun 09]
- [Jul 09]
- [Sep 09]
- [Lowcountry Plantation]
- [McCormack]
- [McNeil]
- [Ponds]
- [Rizer]
- [Schuld]
- [Weiss]
- [Select A Builder]
- [Services]
- [FAQ]
- [Contact Us]
- [About Us]
- [Testimonials]
Copyright, 2009, Ponds & Sons Construction Company, Inc. dba Ponds & Sons